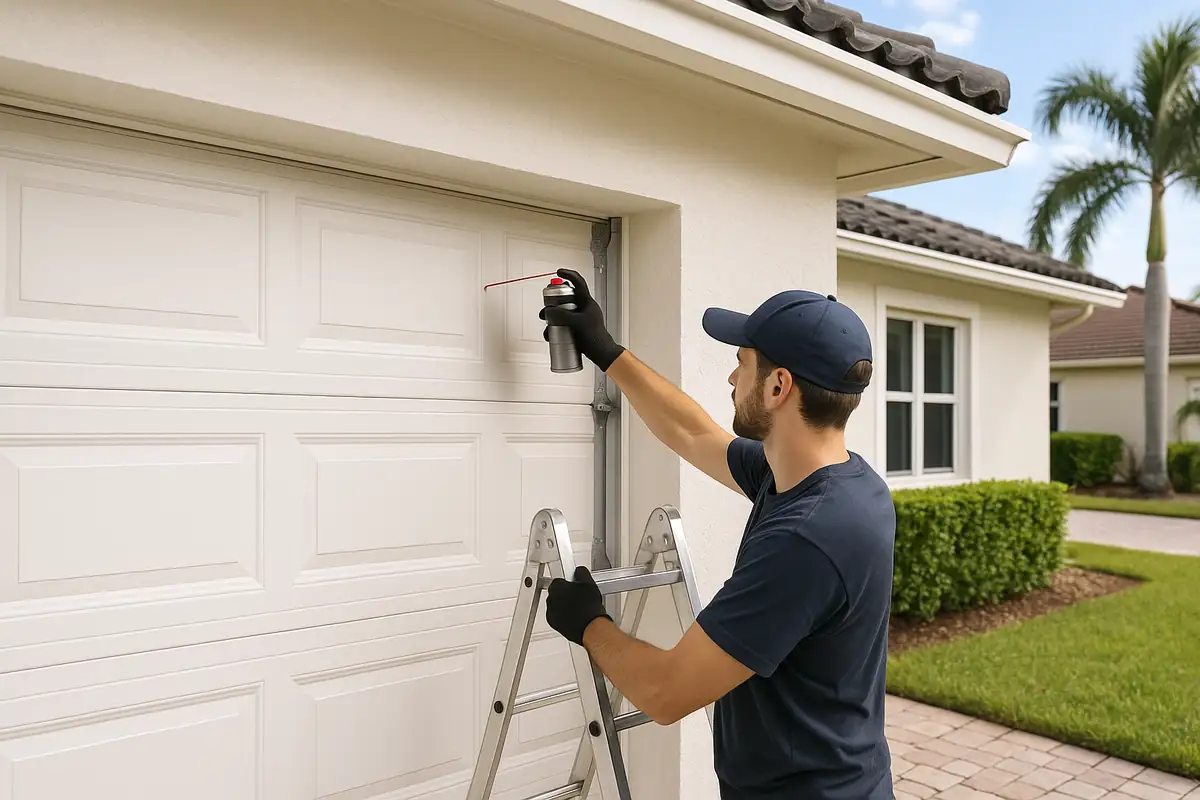
How to Program Your Garage Door Remote: A Step-by-Step Guide for Ontario, CA Residents
Introduction
In today’s fast-paced world, convenience is key, and the garage door remote is a prime example of how technology simplifies our lives. If you find yourself struggling with a malfunctioning garage door remote, you’re not alone. Luckily, programming a garage door remote is often easier than it seems. This guide will walk Ontario, CA residents through the steps to program their garage door remotes, ensuring you can enjoy the ease of automatic access to your home once again!
Understanding Garage Door Remotes
Before diving into the programming process, it’s essential to understand what a garage door remote is and how it works. Garage door remotes are small handheld devices that send signals to the garage door opener, allowing you to open and close your garage door from a distance.
Key Components of a Garage Door Remote
- Transmitter: The remote itself that you hold in your hand.
- Receiver: The unit installed in your garage that receives the signal from the remote.
- Code: A unique frequency or code that ensures only your remote can operate your garage door.
Why You May Need to Reprogram Your Remote
There are several reasons why you may need to reprogram your garage door remote:
- Replacing batteries in the remote.
- Moving to a new home in Ontario, CA.
- Security concerns after losing a remote.
- Changing the garage door opener.
Being proactive and knowledgeable about your garage door remote can enhance your home’s security and convenience.
Step-by-Step Guide to Programming Your Garage Door Remote
Now that you understand the essentials, let’s get into the nitty-gritty of programming your garage door remote. The exact steps may vary depending on the brand and model of your garage door opener, but the following general guidelines will help you get started.
What You Will Need
- Your garage door remote.
- Your garage door opener’s model number.
- A ladder (if necessary).
- Owner’s manual (for specific instructions).
Step 1: Locate the Learn Button
Begin by locating the “Learn” button on your garage door opener. This button is typically found on the back or side of the motor unit.
- Look for a button labeled “Learn,” “Program,” or something similar.
- It may be covered by a plastic cover; if so, gently remove it.
Step 2: Prepare Your Remote
Next, ensure your garage door remote is ready to be programmed. Follow these steps:
- Check that the batteries are functional; replace them if necessary.
- Stand within a few feet of the garage door opener to ensure a strong signal.
Step 3: Program the Remote
Now it’s time to program your remote:
- Press and hold the “Learn” button on your garage door opener until the indicator light turns on (usually 1-2 seconds).
- Within 30 seconds, press and hold the button on your garage door remote that you want to use to open the door.
- Release the button when you see the garage door opener’s light blink, or hear two clicks. This indicates that the programming was successful.
Step 4: Test the Remote
After programming, test your remote to ensure it functions correctly:
- Stand outside your garage and press the button.
- Observe whether the garage door opens or closes smoothly.
- If it doesn’t work, repeat the programming steps.
Troubleshooting Common Issues
Even after following the programming steps, you may encounter some issues. Here are some common problems and solutions:
Remote Doesn’t Work After Programming
- Ensure the batteries are new and installed correctly.
- Check the distance from the remote to the opener during programming.
- Verify that the “Learn” button was pressed long enough.
Garage Door Opens by Itself
- This could indicate an issue with the remote or interference from nearby devices. Reprogram the remote and see if the issue persists.
Remote Only Works Sometimes
- This could be due to weak batteries or interference from obstacles. Ensure a clear line of sight to the opener.
Maintenance Tips for Your Garage Door Remote
To ensure your garage door remote remains in good working condition, consider these maintenance tips:
- Regularly check and replace batteries.
- Keep the remote clean and dry.
- Store the remote in a safe place to prevent loss or damage.
By maintaining your garage door remote, you can prolong its lifespan and functionality.
Conclusion
Programming your garage door remote doesn’t have to be a daunting task! With this step-by-step guide, Ontario, CA residents can ensure their garage doors work efficiently and securely. Remember, if you need professional assistance or further support, Rated Garage Door Repair is just a call away! Our expert technicians are ready to help you with all your garage door needs.
Contact us today to schedule a consultation!
Explore More Resources
Related Articles
Our Services
Professional garage door repair, spring repair, opener installation and more. View all services →

Michael R.
View full profile
Garage Door Spring Maintenance Guide | Rated Garage Door Repair in Ontario, CA
Seasonal Garage Door Maintenance Checklist: Expert Tips from Rated Garage Door Repair in Ontario, CA